How to add numbers to the Paytia trusted list
Adding numbers one at a time is fine for a handful. For more, download the sample CSV, fill it in and upload it. Here's the column guide and the mistakes that cause a failed import.
Manage Number Import Process
This guide explains how to import telephone numbers into the Paytia portal using the Manage number import tool.
Index
- Overview
- Open Manage number
- Start the import process
- Download the sample CSV template
- Complete the CSV file
- CSV column guide
- Important note before import
- Save and upload your file
1. Overview
The Manage number import process lets you upload multiple telephone numbers into the Paytia portal using a CSV file.
This is useful when you need to add several numbers at once, instead of entering each number manually.
You will first download a sample CSV template from the Paytia portal. You can then add your own telephone number data and upload the completed file back into Paytia.
2. Open Manage number
Log in to the Paytia portal.
From the left-hand menu, go to:
Configure telephony > Manage number
You can also access the page here: Manage numbers list
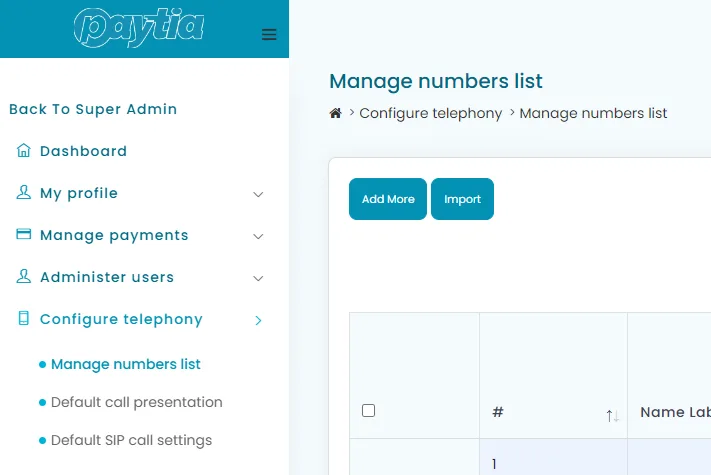
3. Start the import process

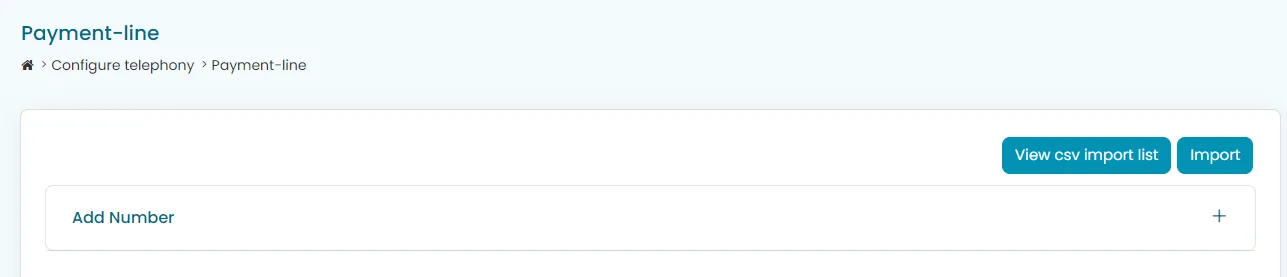
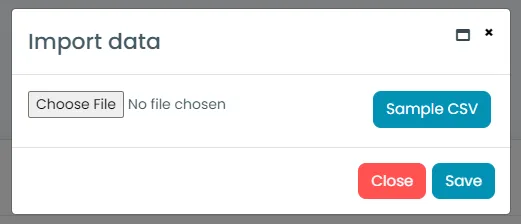

5. Complete the CSV file

6. CSV column guide
Column headers and what they mean
Country code - the international country code in the format example here 44 instead of +44 or 0044
Phone number - the telephone number you are importing in national format without a lead zero. We combine the Country code and number later to make an e.164 formatted number.
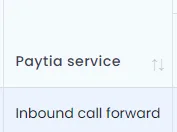
Paytia service - These are the names as they appear in the Manage number, Paytia Service column of the portal
Inbound phone number - This number is used differently depending on the Paytia service type in use. For PSTN call forward add the number calls will be forewarded on to. For SIP add the same number as column C.
Outbound country code - The international country code. This number is used differently depending on the Paytia service type in use. For PSTN call forward this is the trusted telephone number you will call out from.
7. Important note before import
8. Save and upload your file
Save your file and go back to the paytia portal to import it.
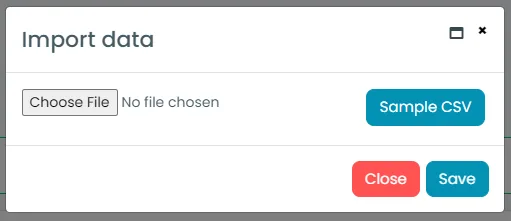
Click the 'Choose file' button.

Your file is shown attached
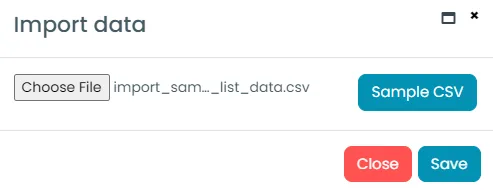
Now click the 'Save' button to import.
If anything goes wrong an error is shown. Is all is successful, the numebr will import and a success message will be shown.
Still need help?
Our support team is here to help. Submit a ticket and we'll get back to you within one business day.